
Upgrading Cisco Identity Services Engine (ISE) can feel like defusing a bomb if you aren’t prepared. But if you follow a strict sequence, look out for a few known caveats, and keep your CLI tools handy, it is a completely manageable process.
Here is a practical checklist and step-by-step guide based on real-world production upgrades.
Phase 1: The Essential Pre-Upgrade Checklist#
Before you touch any upgrade bundles, ensure these 8 steps are fully completed.
1. Run Complete Backups#
Obtain a backup of both your ISE configuration and operational data.
⚠️ Critical Note for Virtual Environments: If you run Cisco ISE on VMware, VMware snapshots are NOT supported for backing up ISE data. You must use the native ISE backup utility.
Pro Tip: When you trigger a backup on a distributed deployment, running it from the Primary node will back up both simultaneously.
2. Back Up System Logs#
Export and secure your current system logs to an external repository.
3. Disable Scheduled Backups#
Turn off all automatic backup schedules. You will reconfigure and re-enable these schedules only after the entire deployment upgrade is successfully finished.
4. Export Certificates and Private Keys#
Don’t risk losing your CA key pairs. Export them via the CLI using the following workflow:
application configure ise# Choose Option 7: Export CA
# Example command to copy the keys to your SFTP repository:ISE-TEST/i.kaldashev# copy disk:/ise_ca_key_pairs_of_ISE-TEST sftp://10.1.0.2/store/ISE
5. Configure Your Repository#
Set up a reliable repository, download your target upgrade bundle, and place it directly into the repository. Log into the GUI, navigate to Administration > Maintenance > Repository, and define your FTP/SFTP server. Ensure you click Validate to verify successful connectivity before proceeding.
You must trust the destination server
crypto host_key add host6. Note Down External Integration Credentials#
Make a secure note of your Active Directory (AD) join credentials and your RSA SecurID node secret (if applicable). You will need this information to re-authenticate or verify connections to these servers post-upgrade.
7. Purge Operational Data#
To drastically improve upgrade performance and reduce overall downtime, purge old operational data before beginning.
8. Verify Connectivity#
Ensure that the network/internet connection between your ISE nodes and your file repository is stable and running at optimal speeds
Phase 2: Understanding Distributed Upgrades (The Two-Node Dance)#
Good to know: You do not need to manually disconnect or unregister your nodes from the deployment when applying a patch or performing an upgrade . The upgrade engine handles deployment state dynamically.
If you are running a standard two-node deployment consisting of Primary (Node A) and Secondary (Node B), follow this specific logic:
- You target and upgrade Node B (Secondary) first.
- The upgrade process automatically removes Node B from the cluster.
- Once Node B reboots into the new software version, it temporarily acts as the Primary node on the upgraded version.
- You then run the upgrade on Node A. Once Node A completes its cycle, it will sync up, rejoin the deployment, and assume its rightful role.
Step 1: Run the Upgrade Readiness Tool (URT)#
Always run the URT bundle first to check for any underlying database corruption or compatibility issues.
application install ise-urtbundle-last-version.SPA.x86_64.tar.gz <your_repository_name>
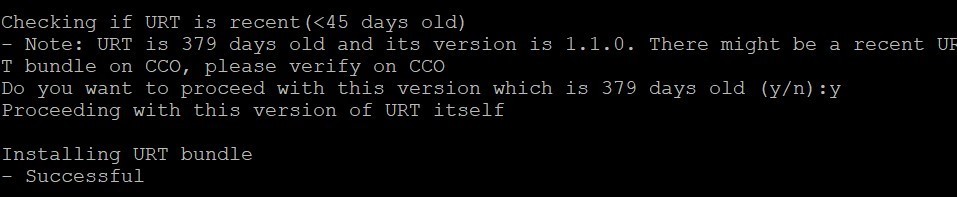
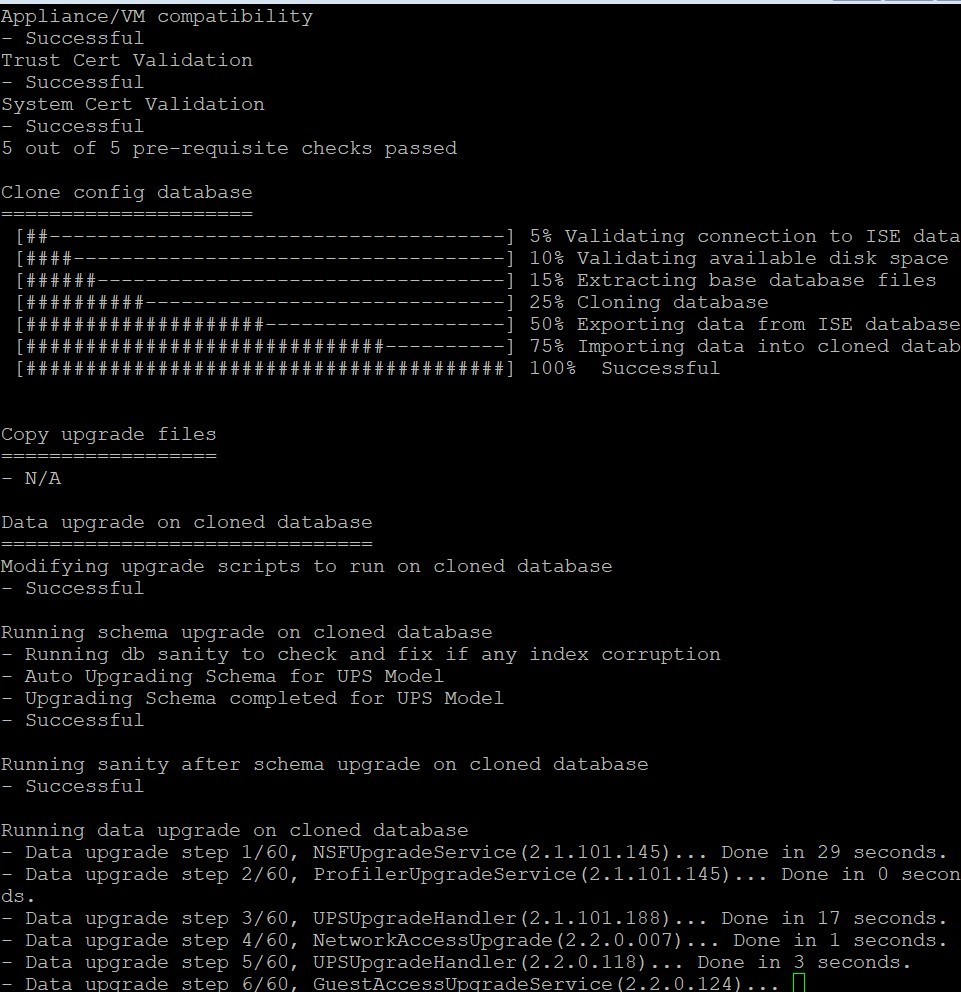
🛠️ Troubleshooting: “Application already installed” Error
If the URT fails with an error stating the application is already installed, clear out the old bundle using:
application remove urtAfter running the cleanup, re-try the URT installation
Step 2: Patch to the Latest Available Version#
Before jumping major versions, patch your current system to its latest available patch release.
patch install patch_bundle_name your_repository_nameStep 3: Prepare the Major Upgrade#
Deregister node registration from the primary deployment window, then prepare the upgrade bundle:
application upgrade prepare ise-upgradebundle-last-version.430b.SPA.x86_64.tar.gz your_repository_nameStep 4: Proceed with the Upgrade#
Once the preparation phase is verified successfully, execute the upgrade:
application upgrade proceed🔴 Crucial Warning: Do not close your SSH terminal window or hit Ctrl + C after entering this command. The console will state it is stopping application services. The appliance will reboot itself up to two separate times during this cycle. The entire sequence can take anywhere from 1 to 3 hours depending on your operational database size.
Step 5: Post-Upgrade Cleanup#
Once everything is verified and running smoothly on the new version, clean up the upgrade artifacts to free up disk space:
application upgrade cleanupWhat to Do If the GUI Fails Post-Upgrade
Sometimes after a major upgrade, the Graphical User Interface (GUI) can act up, or replication issues might prevent you from promoting a node via the web dashboard.
If you need to force a node to become the Primary Administration Node (PAN) and the GUI is unresponsive, you can promote it entirely via the CLI:
application configure ise[5] Promote this node to be the Primary Administration Node
This forces the node into the primary role directly at the application layer, bypassing any web-server hitches.