Self-hosting your password manager is one of the best steps you can take toward data sovereignty and enhanced security. Vaultwarden—an open-source, lightweight alternative implementation of the Bitwarden API written in Rust—makes this process remarkably efficient. It is fully compatible with official Bitwarden apps while using a fraction of the hardware resources.
Below is a practical checklist and step-by-step configuration guide based on a real-world, production-tested setup.
Phase 1: Step-by-Step Deployment#
Step 1: Generate Your Secure Argon2id Admin Token Hash#
Vaultwarden provides an administrative interface at /admin to let you manage your instance. Using a plain-text password for this token is highly insecure. Instead, we use an Argon2id cryptographic hash.
If you have Docker installed on your host system, you can easily spin up a temporary Vaultwarden container to securely compute this hash:
docker run --rm -it vaultwarden/server /vaultwarden hash-
When prompted, type a strong administrative master password and press Enter.
-
The container will return a structural PHC string format output that looks similar to this:
$argon2id$v=19$m=65540,t=3,p=4$0uBoe+j8/7+n4QDQeGbFvnWtvtmy5555noNhgS3cHA$0a9fbBHwKgD77OzEhLhbrjIzFKfO3rymUC5kzaXtAnM
Step 2: Create the Workspace & docker-compose.yml File#
Log into your host machine via SSH, create your application deployment directory, and navigate into it:
mkdir -p /DOCKER/vaultwardencd /DOCKER/vaultwardenOpen a blank configuration manifest using a terminal text editor:
nano docker-compose.ymlPaste the following production configuration, ensuring Phase 2: Detailed Configuration Breakdown & Caveats Understanding each parameter is critical before launching this stack in your live infrastructure.you swap out the ADMIN_TOKEN value with your own escaped token string:
version: '3.8'
services:  vaultwarden:    image: vaultwarden/server:latest    container_name: vaultwarden    restart: always    ports:      - "3012:3012"      - "5151:80"   ### may custom port    environment:      - ADMIN_TOKEN=$$argon2id$$v=19$$m=65540,t=3,p=4$$0uBoe+j8/7+n4QDQeGbFvnWtvtmy5555noNhgS3cHA$$0a9fbBHwKgD77OzEhLhbrjIzFKfO3rymUC5kzaXtAnM      - SIGNUPS_ALLOWED=true      - INVITATIONS_ALLOWED=true      - ORG_CREATION_USERS=all    volumes:      - /DOCKER/vaultwarden:/data
Save the file and exit the editor (Ctrl+O, Enter, then Ctrl+X).
Step 3: Launch the Stack#
Instruct Docker to compile, construct, and execute the background system service container in detached mode:
docker compose up -dVerify that the container is up and listening correctly on ports 80 and 3012:
docker ps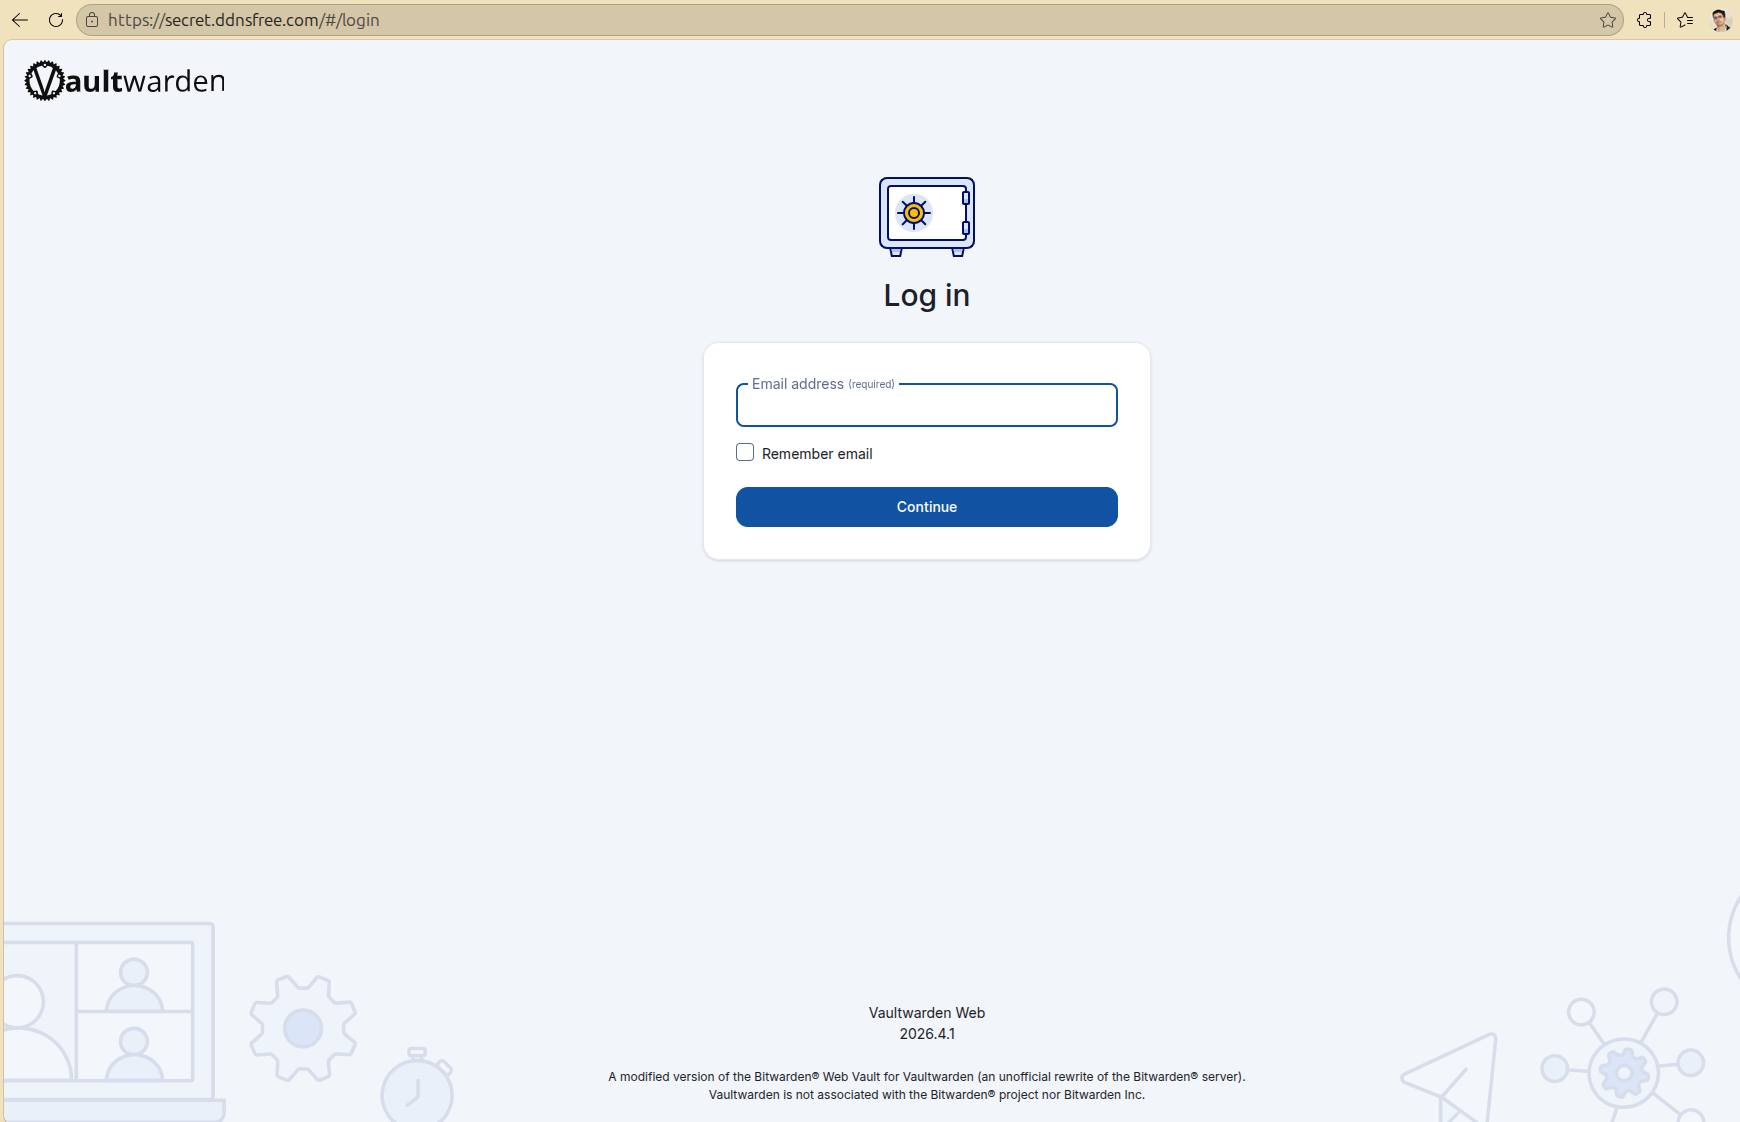
Phase 2: Detailed Configuration Breakdown & Caveats#
Understanding each parameter is critical before launching this stack in your live infrastructure.
-
Networking & Port Bindings
-
Port 3012:3012: This dedicated port handles WebSocket notifications. WebSockets allow Vaultwarden to immediately push sync instructions to your devices (mobile app, browser extensions) whenever a credential changes, preventing stale offline caches.
-
Port 5151:80: Maps external port 5151 on your host engine to the container’s internal web server (80). You will visit this port to see the login screen.
-
-
Environment Variables & User Flags
-
SIGNUPS_ALLOWED=true: Enables registration pages. You should set this to false immediately after creating your primary admin accounts to keep unauthorized public registrations closed. -
INVITATIONS_ALLOWED=true: Permits administrators to bring in family or team members via email invitations. -
ORG_CREATION_USERS=all:Allows users to set up organizations for secure group password sharing.
-
-
Persistent Volume Allocation
/DOCKER/vaultwarden:/data: Maps your host directory path directly into the container’s data storage engine. This single directory houses your SQLite database, encryption keys, attachments, and configurations.
Phase 3: Securing with Nginx Proxy Manager (HTTPS Setup)#
Vaultwarden handles sensitive cryptographic key generation in the browser. Almost all official Bitwarden extensions and mobile applications will strictly refuse to communicate over plain HTTP. You must terminate SSL traffic using a reverse proxy.
Code snippet
Client[Client Apps / Browser] -- HTTPS:443 --> NPM[Nginx Proxy Manager] NPM -- HTTP:80 --> VW[Vaultwarden Container]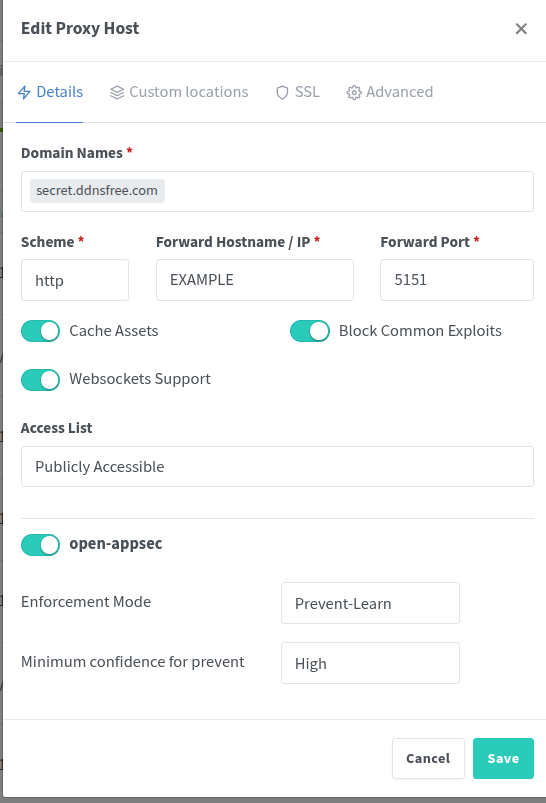
Here is how to set up your routing using Nginx Proxy Manager (NPM):
-
Configure the Main Web Dashboard Proxy Host Log into your Nginx Proxy Manager admin panel.
-
Go to Hosts > Proxy Hosts and click Add Proxy Host.
-
Under the Details tab, configure the following:
-
Domain Names: vault.yourdomain.com
-
Scheme: http
-
Forward Name/IP: Enter your server’s local LAN IP (e.g., 192.168.1.50 or host.docker.internal)
-
Forward Port: 5151
-
Block Common Exploits: Toggle ON
-
Websockets Support: Toggle ON (Crucial for desktop/mobile vault sync functionality)
-
-
Configure the WebSocket Redirect (Custom Locations) Because Vaultwarden uses a separate port (3012) for its real-time WebSocket notifications, you must add an explicit routing rule inside NPM so sync alerts hit the correct endpoint.
-
While editing the same Proxy Host, click on the Custom Locations tab.
-
Click Add Location and provide these exact values:
-
Define Location: /notifications/hub
-
Scheme: http
-
Forward Name/IP: Your server’s local LAN IP (same as step 1)
-
Forward Port: 3012
-
Click the gear icon next to the location to open its advanced config box and paste the following headers:
-
proxy_set_header Upgrade $http_upgrade;proxy_set_header Connection "upgrade";-
Generate the SSL Certificate Switch over to the SSL tab within the same configuration window.
-
Select Request a new SSL Certificate from the dropdown menu.
-
Toggle Force SSL and HTTP/2 Support to ON.
-
Enter your email address for Let’s Encrypt validation, agree to the TOS, and click Save.
-
Once NPM finishes validating your domain, your status indicator will turn green. You can now securely open https://vault.yourdomain.com in your web browser.
Phase 4: Crucial Next Steps for Hardening#
Deploying the stack is only half the battle. To guarantee true production security, complete these final actions.
- Disable Public Signups Post-Launch Once you have created your primary administrator and user accounts, edit your /DOCKER/vaultwarden/docker-compose.yml file to close open enrollment:
- SIGNUPS_ALLOWED=falseApply the changes immediately by running:
docker compose up -d- Establish an Automated Backup Routine Your entire digital identity vault is contained inside the host folder /DOCKER/vaultwarden/db.sqlite3. Set up a daily cron task or utilize a backup utility like BorgBackup or Restic to routinely encrypt and ship this directory structure to offsite cloud block storage.